Help
Creating an Agent
Airgentic Help
This guide walks you through creating a new specialist agent.
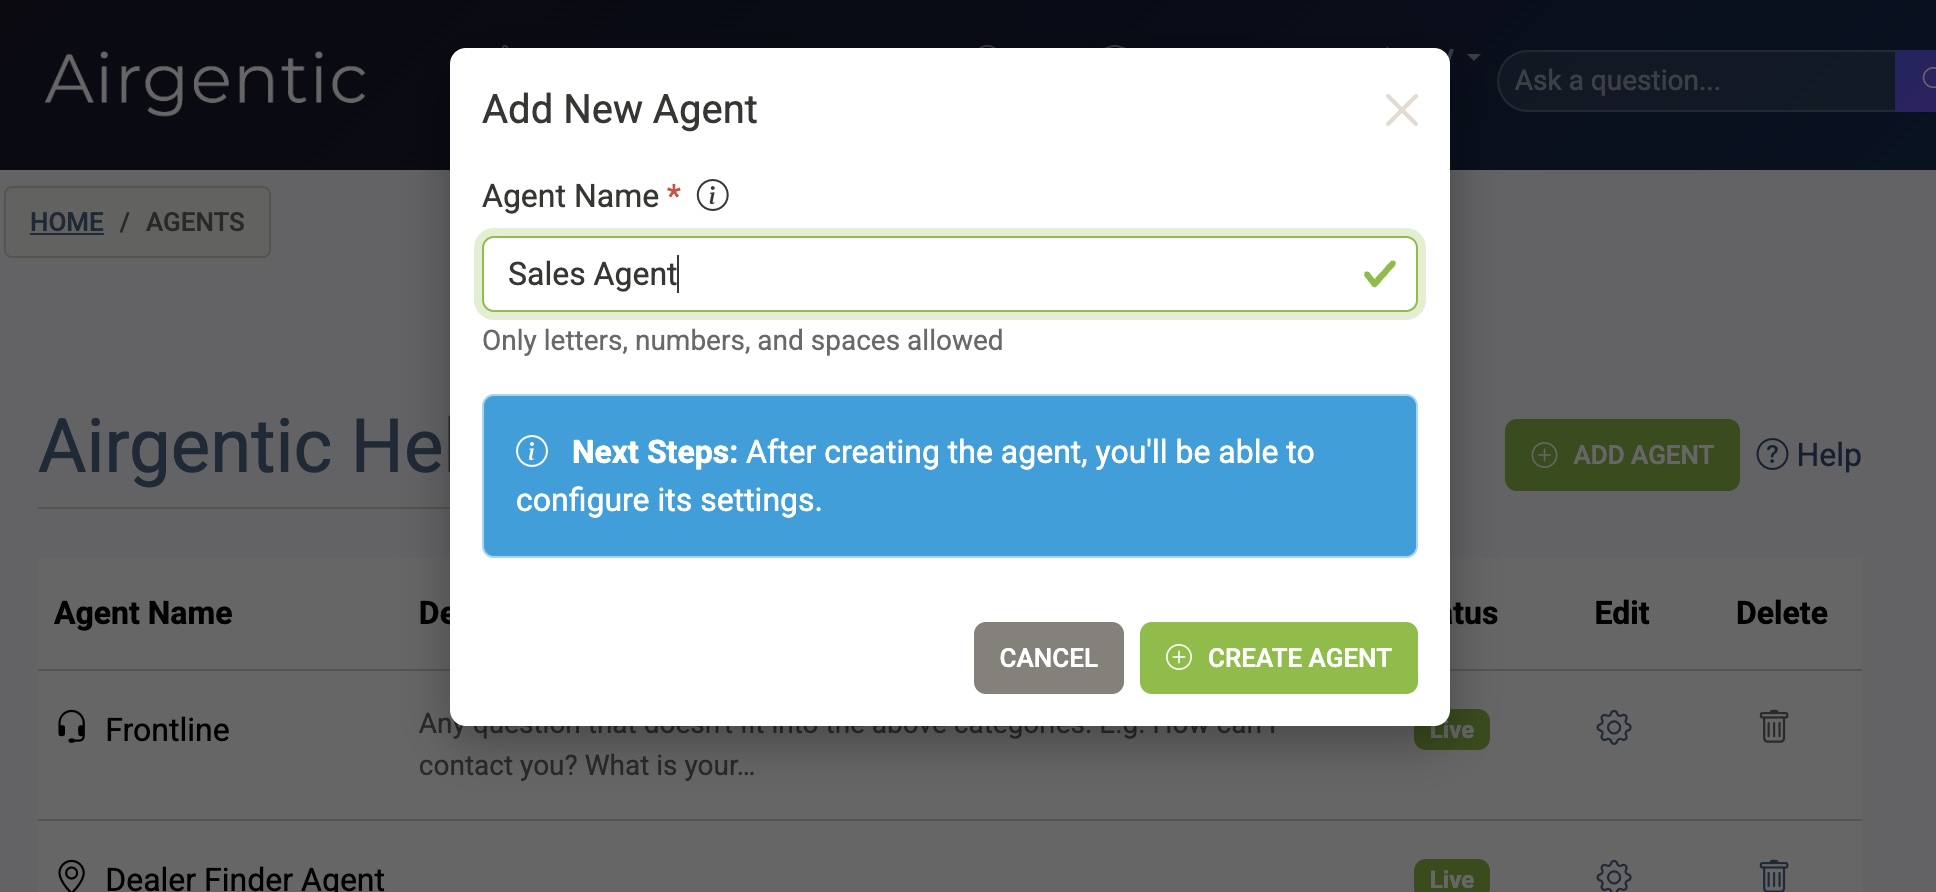
Adding an Agent
Go to Configure Agents and click Add Agent. Enter a name for your agent (letters, numbers, and spaces only) and click Create Agent.
The new agent starts with a status of Testing and a matching agent prompt (same name as the agent) already set as its Initial Prompt. You'll still need to customise the prompt and role before it can handle questions.
What Agents Need
Before an agent can be useful, you need to configure:
-
A Prompt — Creating the agent also creates an agent prompt with the same name and the standard specialist-agent template. Customise it on the Edit Prompts screen, or from the prompt card on the agent configuration screen.
-
An Agent Role — A description of what questions this agent handles. The Frontline agent uses this to decide when to delegate questions to your specialist.
-
Functions (optional) — If your agent needs to perform actions like searching, sending emails, or calling APIs, you'll need to enable the appropriate functions.
Next Steps
After creating the agent, click on it to open the configuration screen where you can set up all of these options.
→ Editing an Agent — Full guide to configuring your agent
→ Edit Prompts — Creating and editing prompts
→ Functions Overview — Understanding custom functions