Help
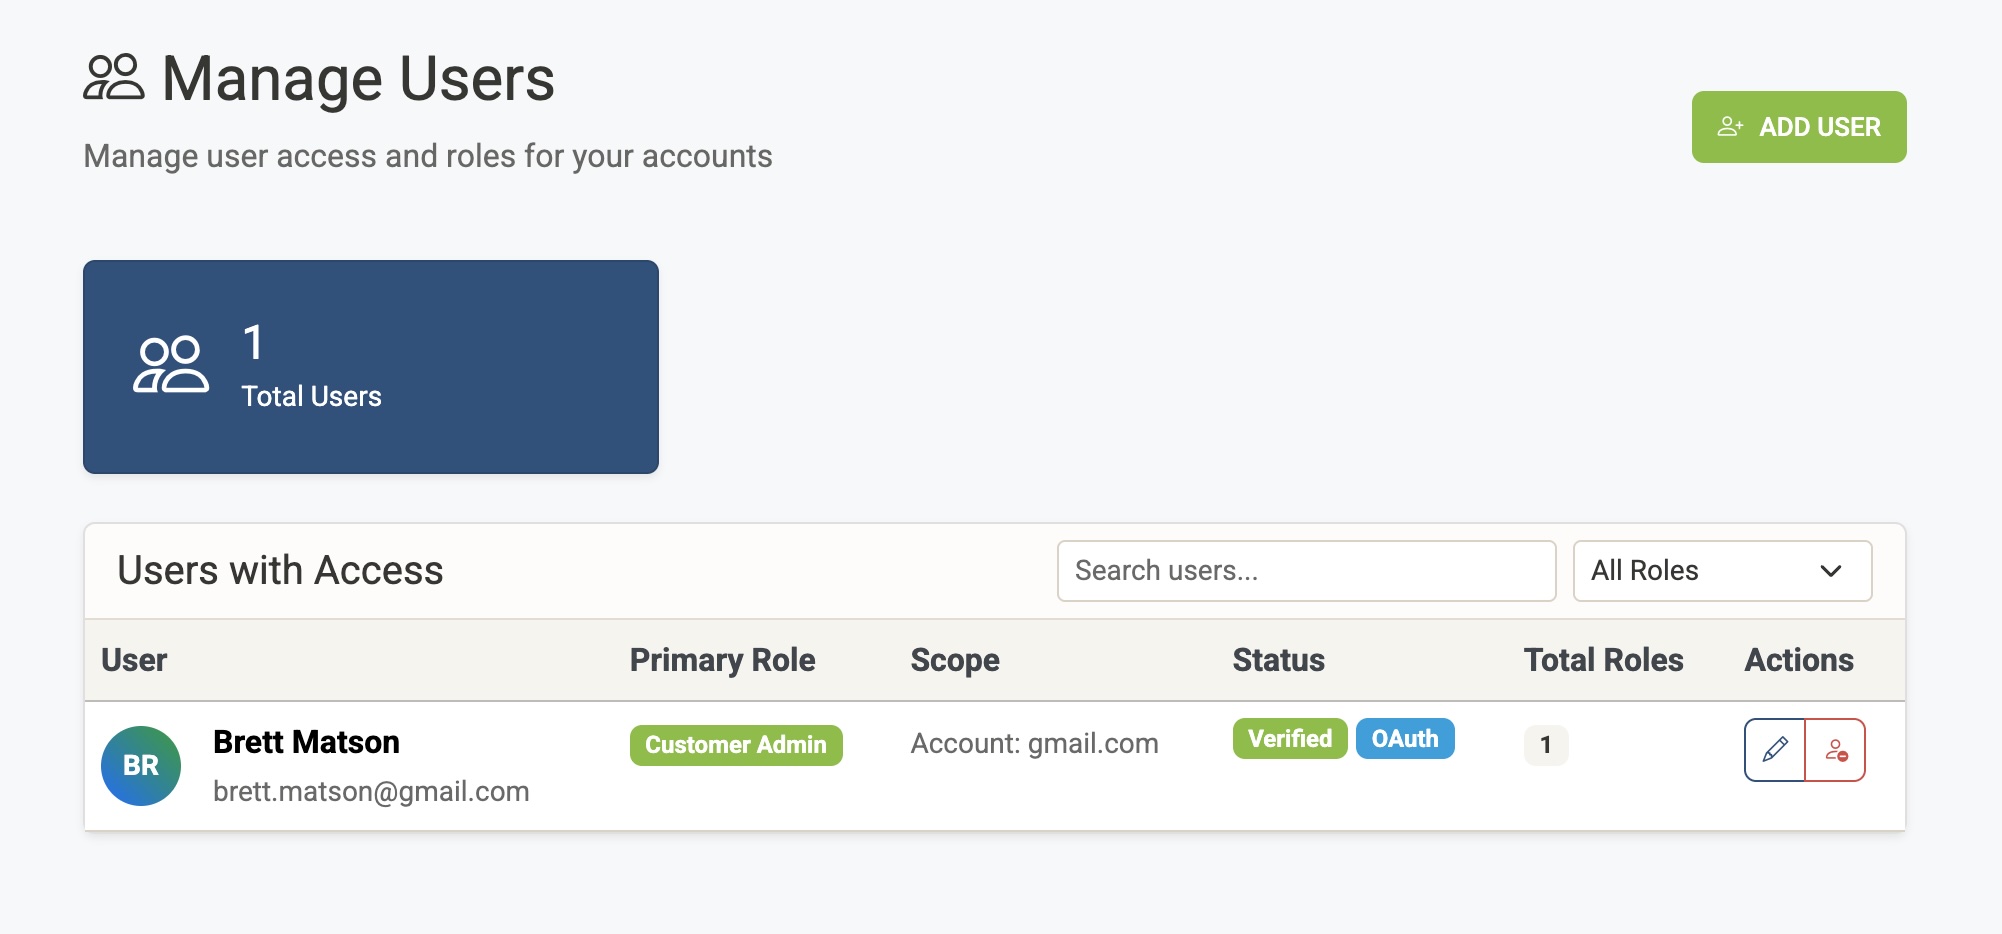
The Manage Users screen lets you view, edit, and remove users who have access to your Airgentic account.
What you can see and do on this screen depends on your role — Customer Admins see users within their account, Partner Admins see users across their partner accounts, and Super Users have a global view of all users in the system.
User List
Each row in the table represents a user. The columns are:
| Column | Description |
|---|---|
| User | The user's name and email address. |
| Primary Role | The user's highest-level role (see Roles below). |
| Scope | The account, partner, or specific services the role applies to. |
| Account | The account ID the user belongs to. |
| Auth Method | How the user authenticates — OAuth (Google or Microsoft) or Password. An Unverified badge means the user has not yet completed email verification. |
| Roles | The total number of role assignments for this user. A user can have roles scoped to multiple services. |
| Last Login | The date the user last signed in, or Never if they have not yet logged in. |
| Actions | Edit or delete the user. Users marked Protected (Super Users) cannot be edited or deleted from this screen. |
Roles
Airgentic uses role-based access control. Each user has a primary role that determines what they can see and do:
| Role | Access |
|---|---|
| Super User | Global system access across all accounts and partners. Managed at database level only. |
| Partner Admin | Full access to all accounts within their partner organisation, including the ability to manage users. |
| Customer Admin | Full access to their account — can configure services, manage users, and view all data. |
| Analyst | Read-only access for viewing reports and analytics. Cannot make configuration changes. |
Account-level vs Service-level Access
For Customer Admin and Analyst roles, access can be scoped in two ways:
- All services — The user has access to every service in the account. This is the default.
- Specific services — The user only has access to the services you explicitly select. Useful for restricting contractors or team members to a subset of services.
Editing a User
Click the pencil icon to open the Edit User dialog. You can change:
- Role — Select a new role from the dropdown. The change takes effect immediately; the user may need to log out and back in for all changes to apply.
- Service Access — For Customer Admin and Analyst roles, choose between access to all services or specific services only. If you select specific services, a checklist of the account's services appears.
Removing a User
Click the person-minus icon to permanently remove a user. You will be asked to confirm. Removing a user deletes their access — if they have no remaining roles after removal, their account is deleted entirely.
Searching and Filtering
(Available to Super Users on the Global User Management screen)
Use the search box to filter by email address or name. Use the dropdowns to filter by role or by account. Click the search button to apply filters, or the refresh icon to clear them.
Summary Counts
(Available to Super Users on the Global User Management screen)
Four cards at the top of the screen show the total number of users in each role category across the entire system: Super Users, Partner Admins, Customer Admins, and Analysts.
Exporting Users
Click Export to download the current user list as a CSV file. The export includes each user's email, name, role, access scope, account, auth method, active/verified status, last login date, and registration date. The export is scoped to the accounts you can manage — Super Users receive a full system-wide export.